5. ROS2 Interface Instructions
5.1. Overview
The system used by the controller is Ubuntu 22.04 LTS, corresponding to ROS2 version Humble. The mechanical arm ROS2 related interfaces are built based on the ros2 control framework. Therefore, when using ROS2 control, special attention should be paid to version alignment to avoid DDS communication version incompatibility issues.
5.2. Start of ros2 control plugin
First, use SSH to log in to the controller. Set the IP of LAN1 port on the controller to “192.168.58.1” and the IP of LAN2 port to “192.168.137.77”. The host computer needs to be set to a different IP in the corresponding subnet in order to use SSH login.
We assume using Tera Term software to log in via SSH, open the software, and get the following interface. Enter the IP address corresponding to the port in the Host field. We assume using the LAN1 port, so the IP should be filled as 192.168.58.1.
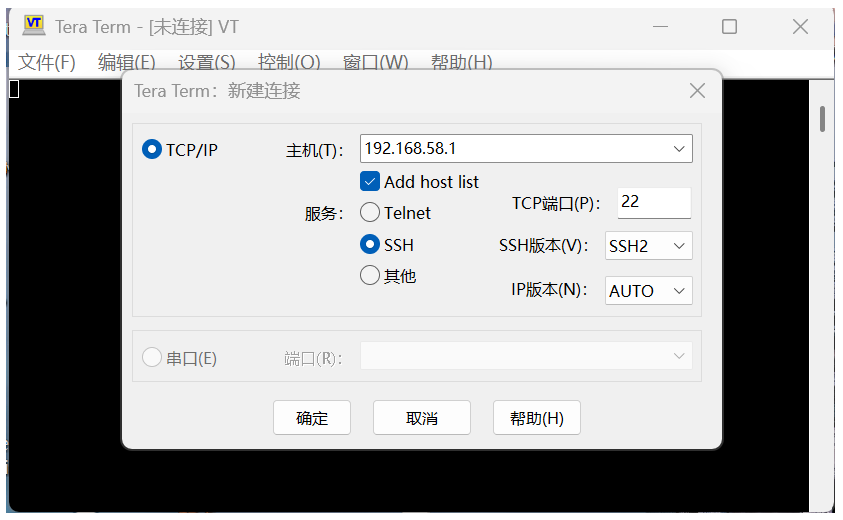
Figure 5-1 Tera Term Initial Interface
After clicking OK, a prompt box will appear. Enter the username “fairino” and password “1”, then click OK.
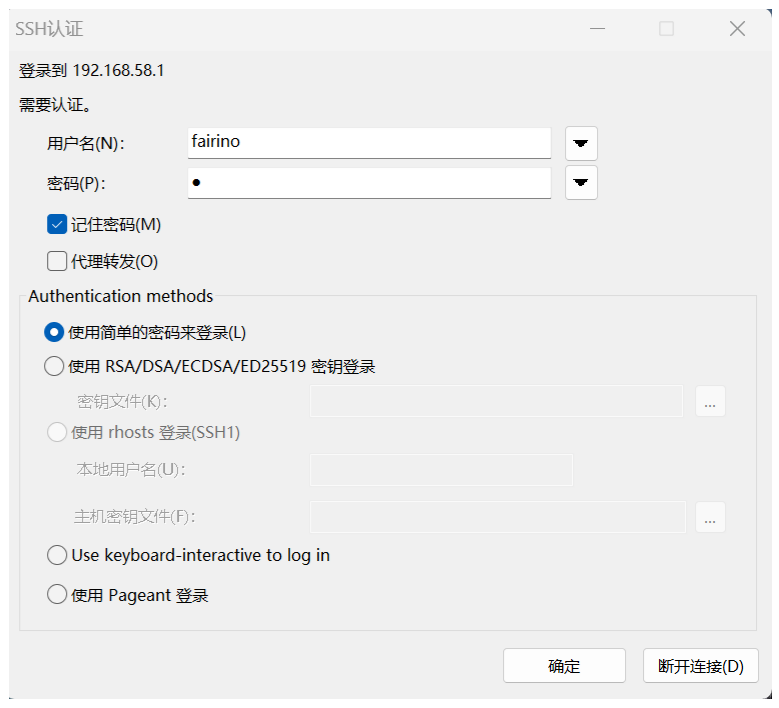
Figure 5-2 Login Interface
After entering the bash interface, if it is a single-arm user, use the cd command to enter the single_ART3_R7_project folder, and if it is a dual-arm user, enter the dual_ART3_R7_project.
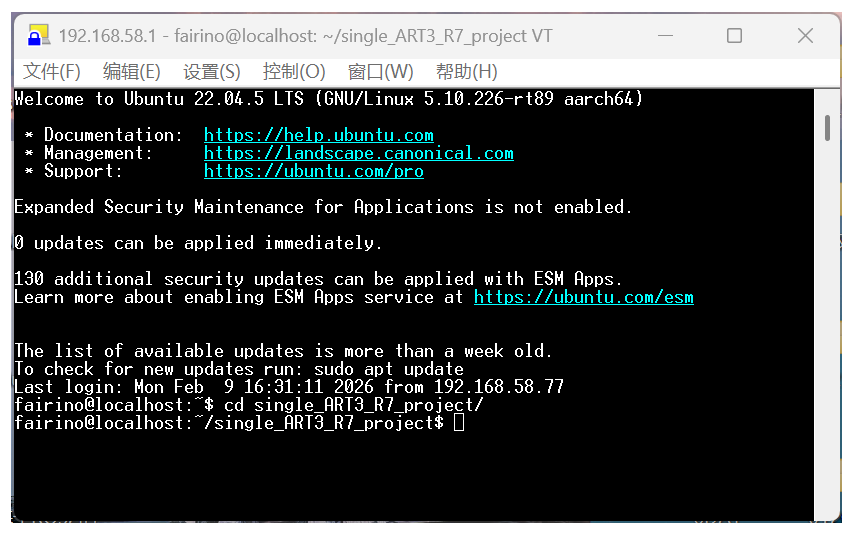
Figure 5-3 Enter the Single-arm Engineering Folder
Enter the command ./runqhal.sh to start the underlying HAL library program and establish communication with the robotic arm. At this point, you will be prompted to enter a password. Enter 1 and press Enter.
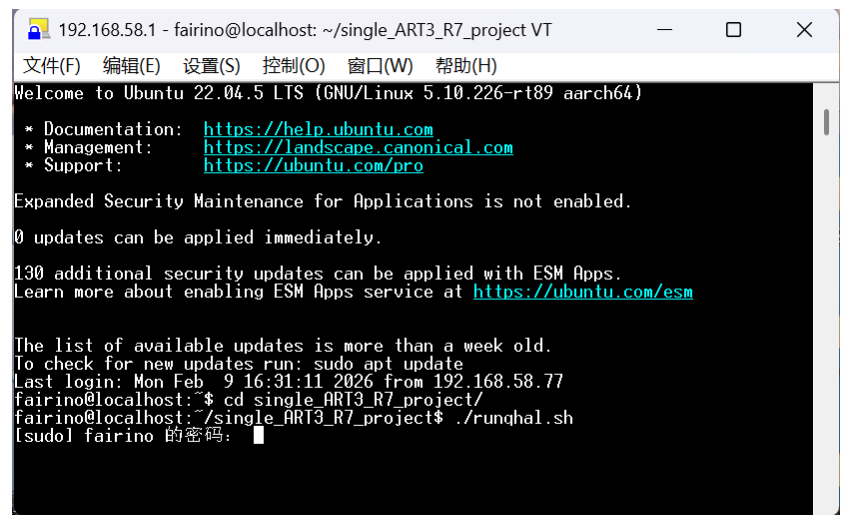
Figure 5-4 Starting the HAL Library Program
After waiting 10s, enter the command ./runplguin to start the ros2 control plugin program. Wait about 10s, the arm can enter the enabled state.
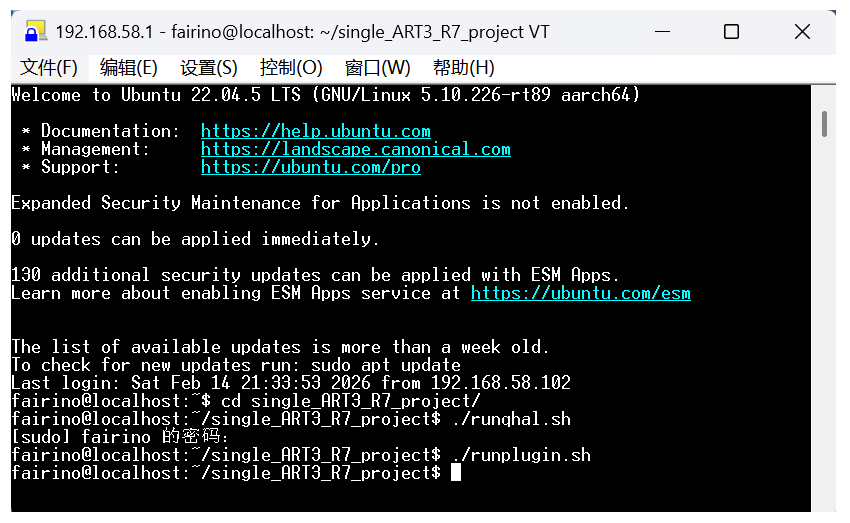
Figure 5-5 Launch ros2 control Plugin Program
5.3. ROS2 Control Interface Documentation
The configuration under a single arm is shown in the figure below. The plugin will start a controller named single_arm_controller, which is of type joint_trajectory_controller/JointTrajectoryController. Additionally, the plugin will also start the controller named joint_state_broadcaster, which is of type joint_state_broadcaster/JointStateBroadcaster.
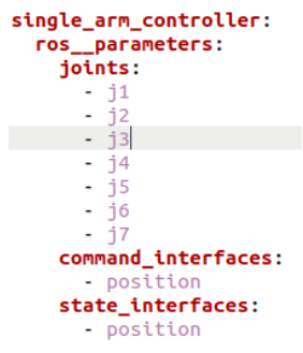
Figure 5-6 Single-arm Configuration Reference
The configuration under the arms is referenced in the figure below. The plugin will start a controller named dual_arm_controller, of type joint_trajectory_controller/JointTrajectoryController. The controller joint_state_bradcaster will also be started.
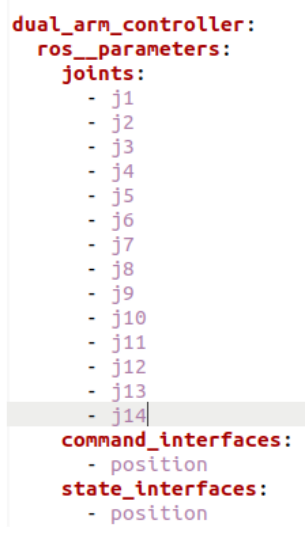
Figure 5-7 Dual-arm Configuration Reference
5.4. Using Remote Desktop
The controller integrates xrdp remote desktop, which is convenient for users who are accustomed to using a graphical interface to copy files, write code, etc. Note: the user permissions of the remote desktop cannot allow the ros2 control plugin to obtain real-time priority. Therefore, when starting the HAL program and the ros2 control plugin, be sure not to perform these operations in the remote desktop. Assuming you are using the Windows system to log in to the remote desktop, open the Windows remote desktop service, and enter the IP address in the text box. If the connection is via the LAN1 port, the IP address should be 192.168.58.1.
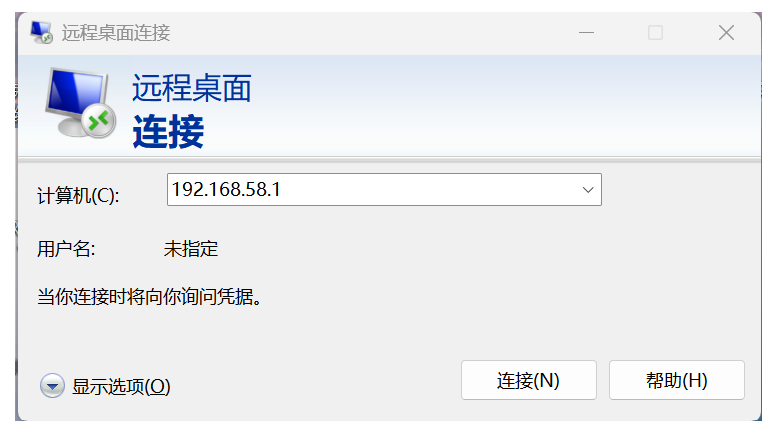
Figure 5-8 Remote Desktop Connection
After clicking the link, the xrdp login interface pops up. Enter username as fairino and password as 1, then click ok.
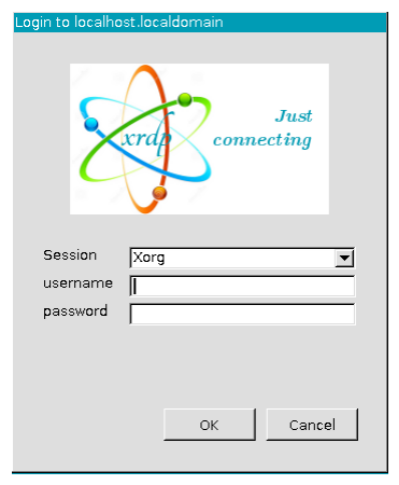
Figure 5-9 xrdp Login Interface
After entering the Ubuntu desktop, the authorization window may pop up multiple times, prompting you to enter a password. At this time, enter 1 and press Enter. Finally, the desktop can be displayed normally.
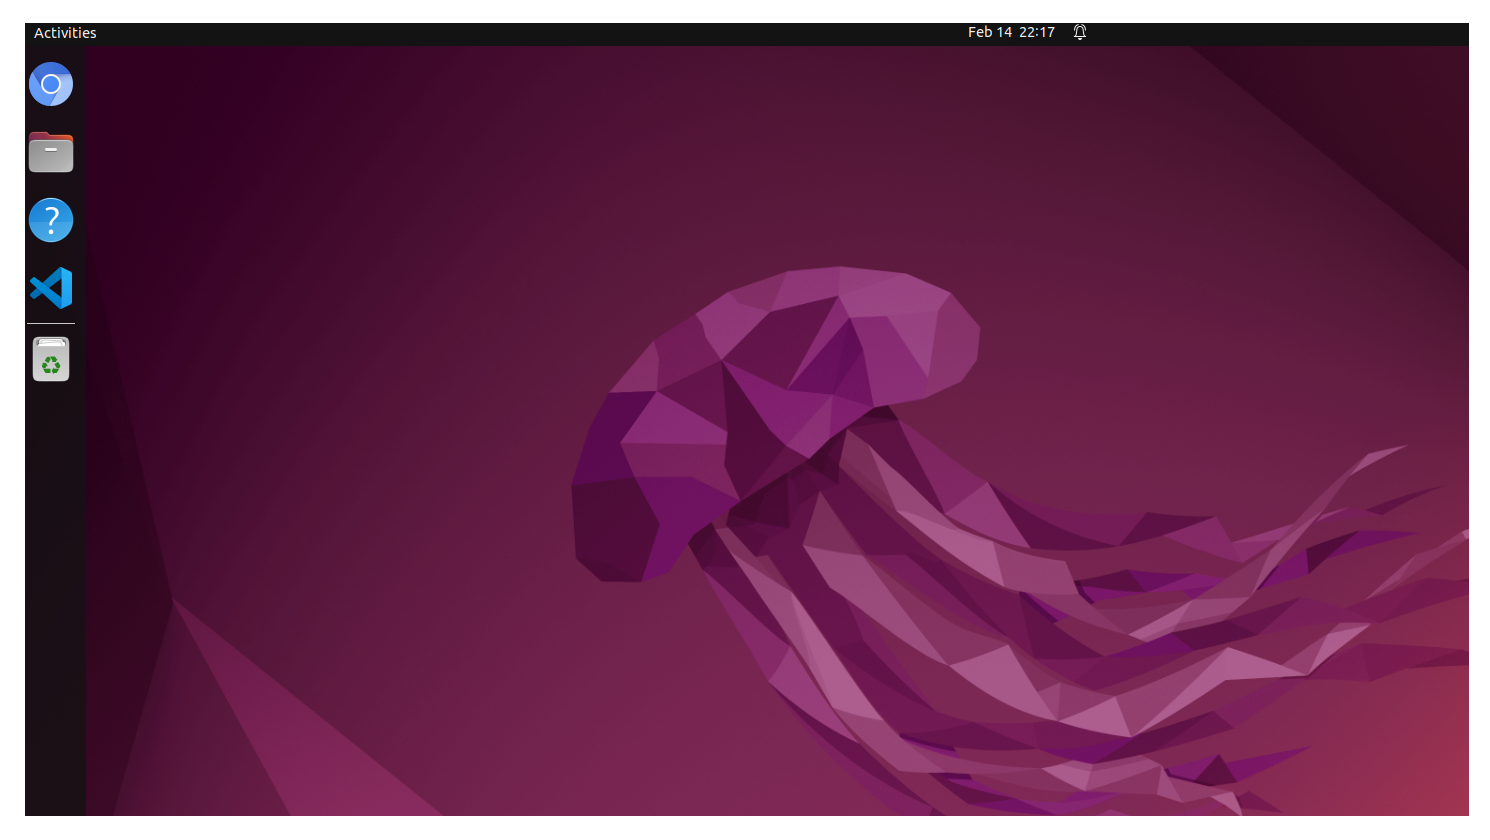
Figure 5-10 Ubuntu Desktop
5.5. ART3_R7 SDK User Guide
Since the SDK has a dedicated “ART3_R7 SDK Manual,” this section is not described in detail in this manual.